Measure 3 1/8" in from each side and proceed to bend the steel up to approx. an 80 degree angle. (It's critical that you leave a flat area 14" wide for the pan).
| C6 Skid Plate |
"The Yak" specs Technical Reader's Rides Picture Archives 1986 Mustang GT |
Trail Information Links Product Review |
| More Tech Write-ups |
| Rocker Panel Guards C6 Trans Pan Skid Plate |
| The trans pan is the weakest part of the drive train when it comes to damage resistance, yet, it's one of the most expensive to replace when it fails. A stick in the right position, a sharp rock, or any other foreign object can cost you big $ on the trail. For a few dollars and a couple hours you can add some protection, and greatly reduce your chances of trans damage. If my explanation is an any way confusing, I apologize--If you have any question's or comments please e-mail me. |
|
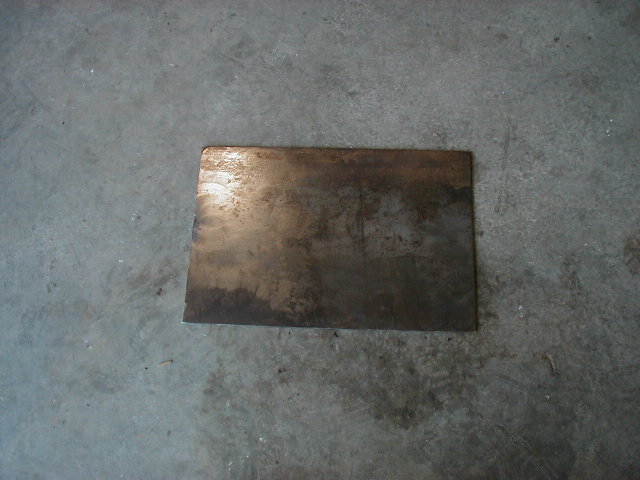
To start off you will need a piece of 1/8" steel plate. I used a 12.25"x18" piece, though I recommend using a 14"x 18" piece--you will see why later on. Measure 3 1/8" in from each side and proceed to bend the steel up to approx. an 80 degree angle. (It's critical that you leave a flat area 14" wide for the pan). |
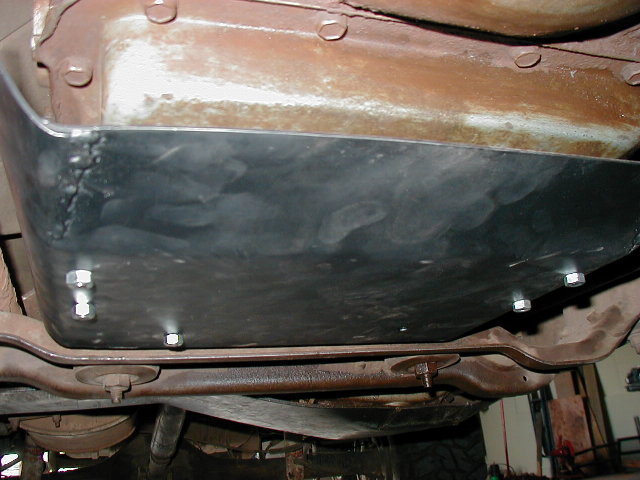
| Now, make a 3.25 inch long cut from each front corner of the flat part of the plate, and bend up. Roll the front edges of the sides and weld. (If your plate is 14" long, this part will be different.) For a 14" plate there will be two bends, a second one to cover the short rise on the front of the trans pan. The piece you see on the right side of the plate is unboltable for access to the shift cable. | 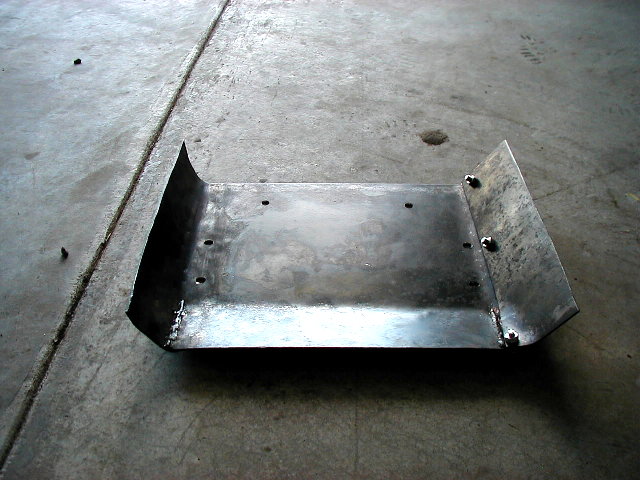 |
 |
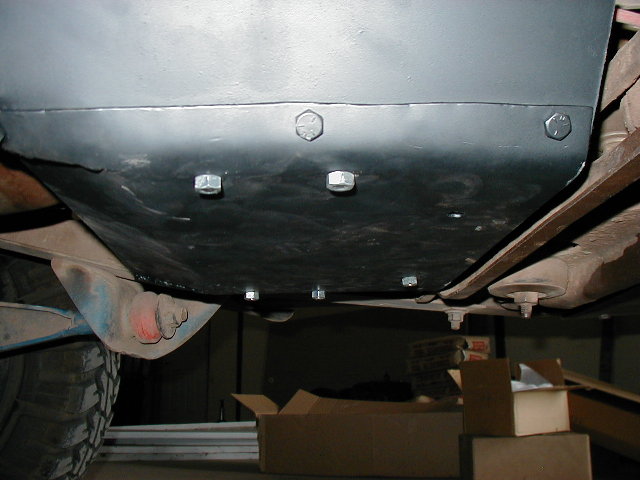
I couldn't find 4" long grade 5 studs of my choosing at the local parts store, so I got 5 4" long bolts, cut the heads off and threaded 1" of the unthreaded end. To retain proper gasket torque, I threaded a nut onto the stud before threading the stud into the trans. Then I took a straight edge and threaded a "stop" nut onto the stud to prevent pan damage upon the tightening of the skid plate. I would recommend using crimped nuts at the skid plate end of the studs to prevent any loosening. |
| NOTE: Trans pan studs are 12 5/8" apart. Now drill a hole 4 7/8" from the back of the plate on each side, and drill another hole 2 5/8" in front of the first holes. From the pass side rear hole: measure 3 1/8" back and 2 1/2" over (toward the center) and drill another hole, this will be the rear/center support. |  |
 |
 |
 |
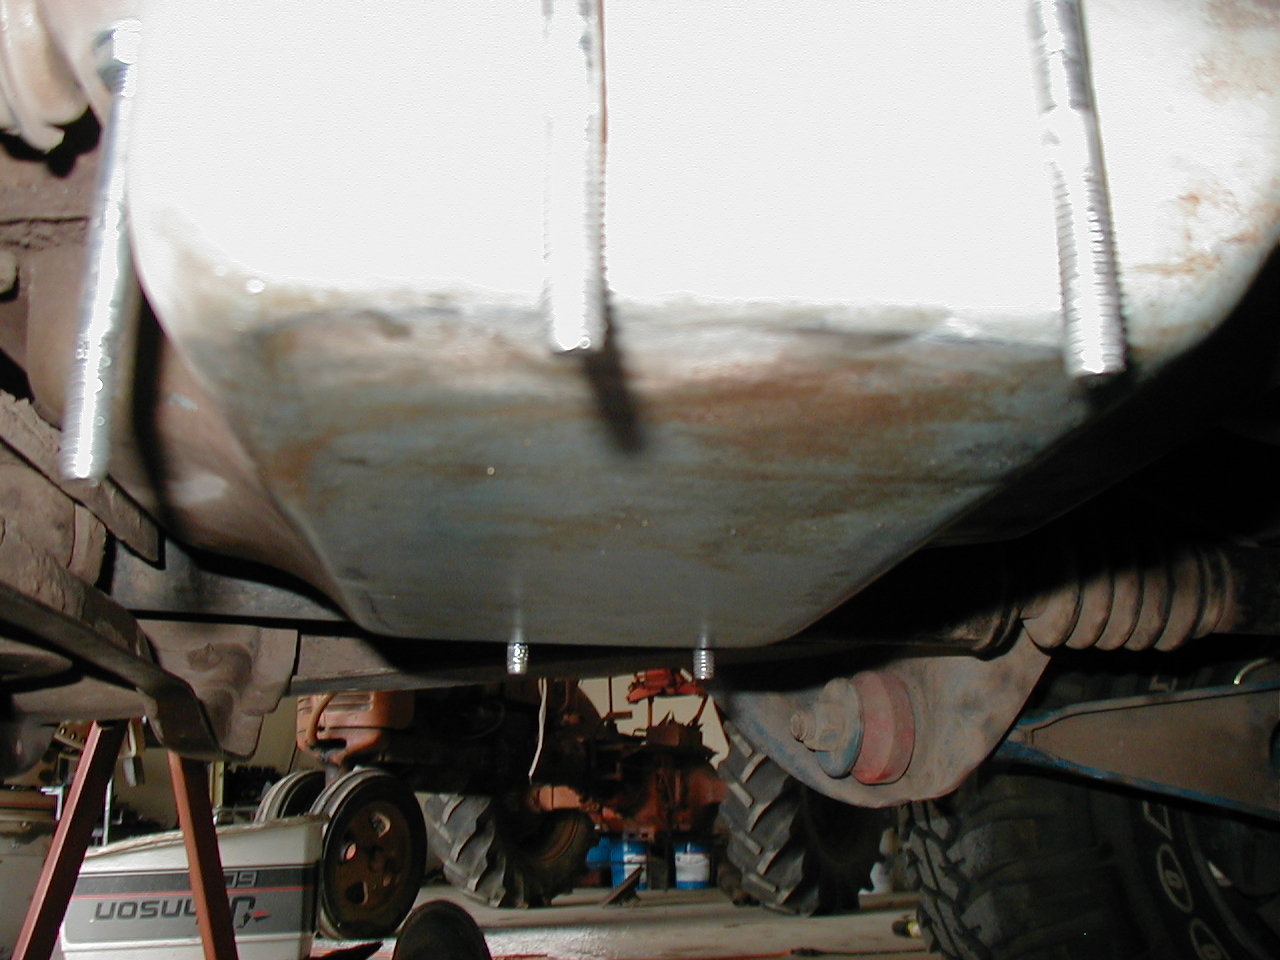
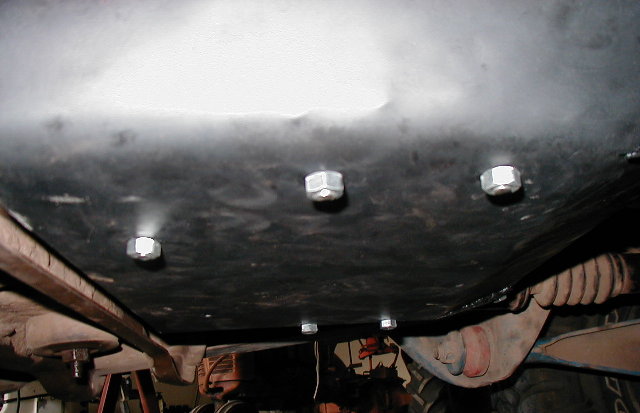
| By looking at the front view you can see why I should've used a 14" long plate, that gap is a bit unnerving. Compared to no plate at all it's a big improvement in trans protection. If you have any suggestions on how to improve this product, questions, or constructive criticism, please e-mail me. |
http://w3.gorge.net/jeremiah/C6skid.html |