| Plastic Welding |
|
Make sure you have good ventilation before you start!!! Find a screwdriver that you would not mind ruining, and then find a torch or something equivalent to get the screwdriver red-hot. Select the area that you wish to weld and make sure everything looks good and ready to go. Heat up the tip of the screwdriver until it has a nice red glow, and then gently apply to the plastic and move the screwdriver in a circular pattern to pull the plastic together. Careful, if the tip of the screwdriver gets too hot, the plastic might catch on fire! From my experience the plastic is holding up as good as it did before it broke. When all said and done it's not as nice looking as it did stock, but it holds up well and cheaper than a new set of plastics. |
| Polish Your Aluminum Parts |
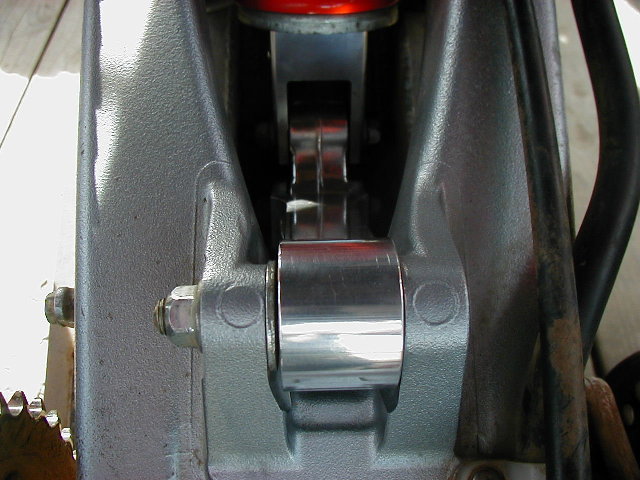
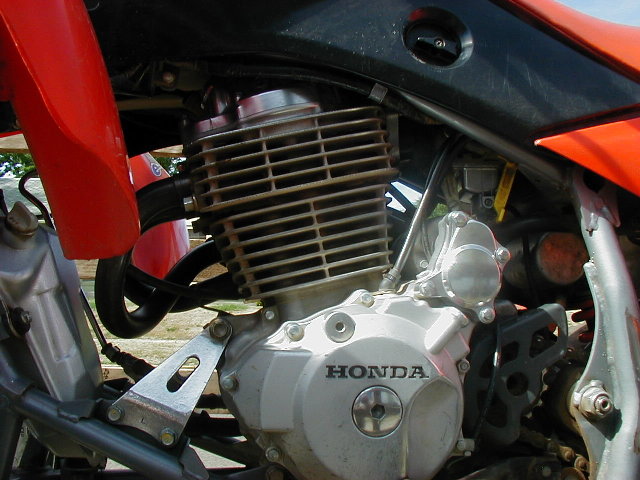
Before you start, I would suggest using a magnet to make sure that the part you are thinking about polishing is aluminum. Steel will polish, but rust shortly thereafter. If the part has been painted, apply paint remover and let it set the suggested period of time. When the paint is soft, take some fine or medium coarse steel wool and scrub the paint off, the steel wool will also shine the aluminum up a bit as well. When the piece is paint-free, use some high quality aluminum polish and buff it out. It will take some time and elbow grease, but the end product is well worth the effort. After I polished a few parts, I noticed that the bolts no longer matched up, so I gave them the same treatment with good results. |
To remove any doubt, here is a list of aluminum components that can be polished to a chrome like shine: *Flywheel and Clutch cover on the engine *Throttle cover *master cylinder cover *Starter gear cover and oil filter cover *Front motor mounts *Valve Cover *Rear Shock Linkage *Handle Bar Clamps |
|
|